In this module, you set up your environment to enable Lightning development.
A namespace is globally unique across all Salesforce organizations. Namespaces are case-insensitive and have a maximum length of 15 alphanumerical characters.
Login to your Salesforce Developer Edition
Click Setup (upper right corner)
Click Create > Packages (left navigation)
Click Edit and Continue
Enter the namespace prefix you want to register, and click Check Availability. If the namespace you entered is not available, try again until you find a namespace that is available.
Click Review My Selections
Click Save
In Setup, click Develop > Lightning Components
Check the Enable Lightning Components checkbox
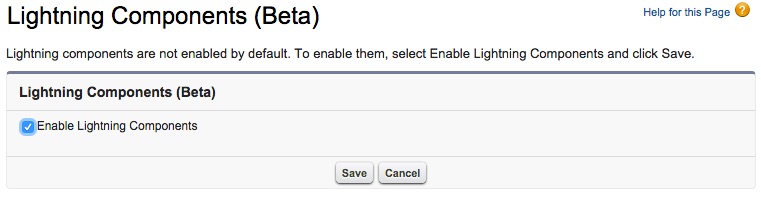
Click Save
To help you make the application look good, you will use a version of Twitter Bootstrap customized to match the Salesforce1 guideline.
Download and unzip the Salesforce Foundation Bootstrap here
In Salesforce, click Setup > Build > Develop > Static Resources
Click New
Specify bootstrap as the Name, then click the Choose File button, and select the bootstrap.css in the dist/css directory of the unzipped bootstrap folder
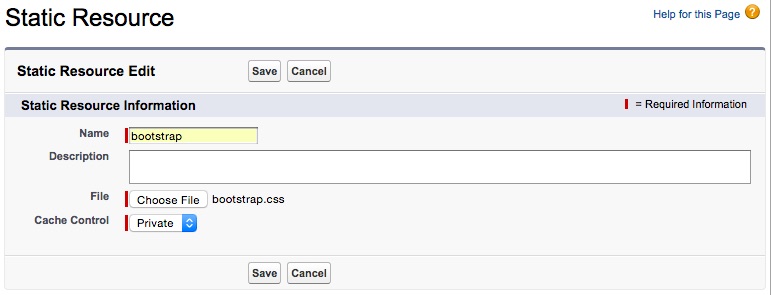
Click Save